Old sports coats, star template, sawdust stuffing, and a funnel, knitting needle, needle/thread, seam ripper . . .
Together they = another craft project
Mix an old sports coat from Care & Share, a tagboard star template and a bag full of sawdust stuffing – then add a needle-and-thread, a seam ripper and a scissors for trimming – and what do you get? Another craft project. Follow the photographs for a visual step-by-step of the making of a primitive-style stuffed fabric star:
FIRST YOU NEED to create the size star template you want on tagboard and cut it out. Collect the fabric from which you want the stars to be made. Used for this article were old sports coats from Care & Share which were cut apart. Trace the star template on the material of your choice and cut out. Two cut-out fabric stars are then placed together and stitched around the shape, leaving a one-inch seam. Remember to also leave a one-inch opening through which the star can be “stuffed.”
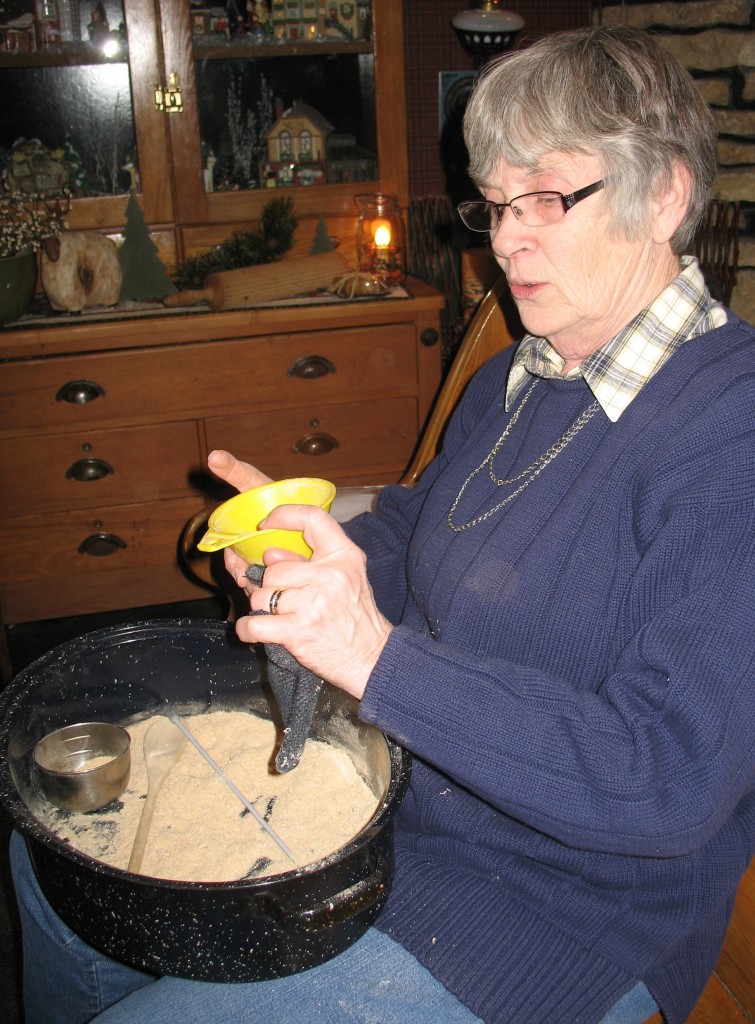
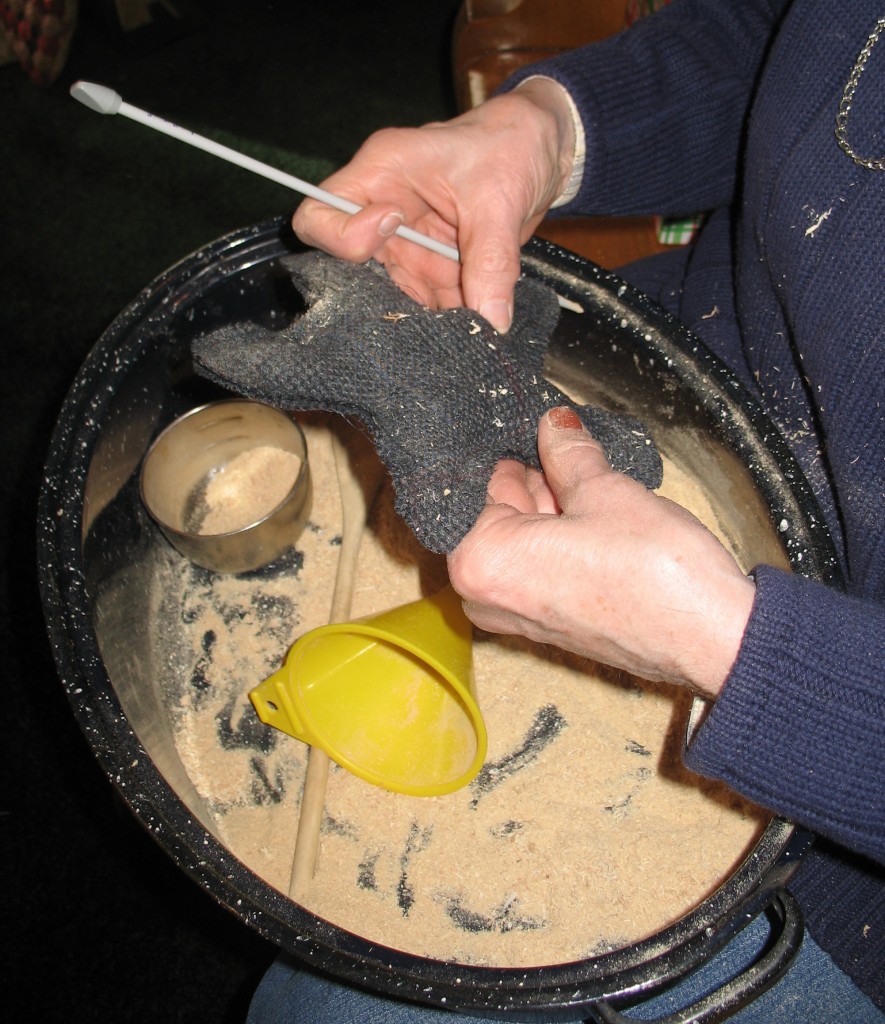
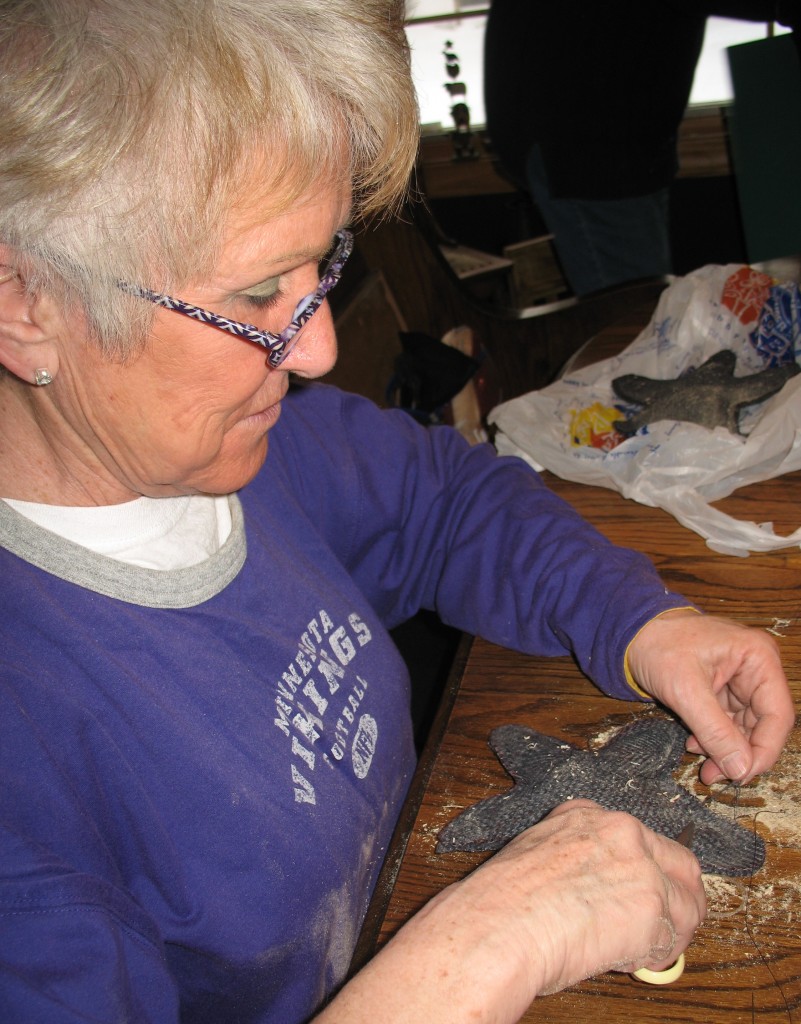
GATHER THE SAWDUST and place the funnel in the star’s gap opening. Using a measuring cup, pour the sawdust in the funnel and gently shake it into the star shape, such as Jody Metcalf is doing in the above photo.
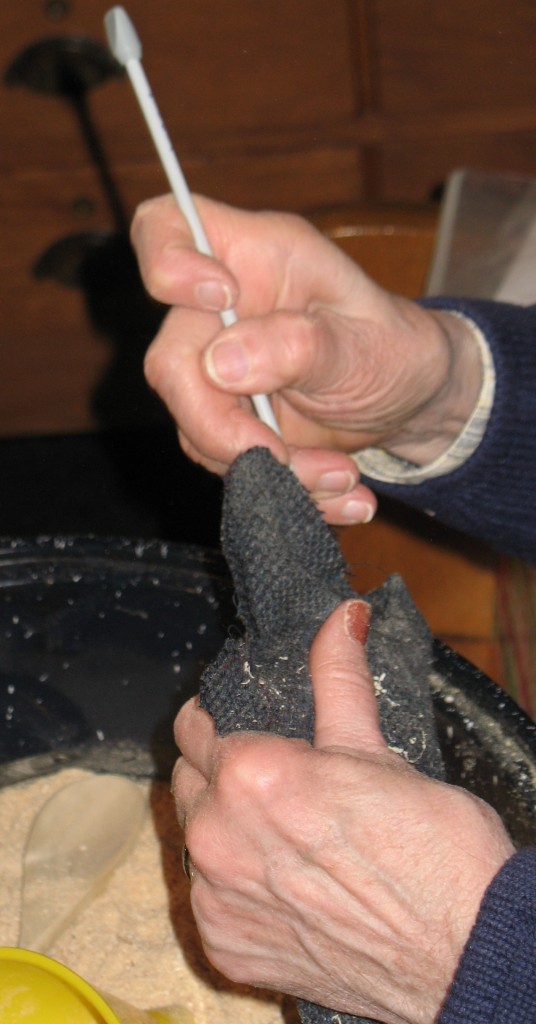
A KNITTING NEEDLE can be used to force the sawdust through the funnel into the star, where the filler will be packed full into all areas.
THE KNITTING NEEDLE can additionally be utilized to move the sawdust into each of the star’s five “arms,” creating a full stuffed star
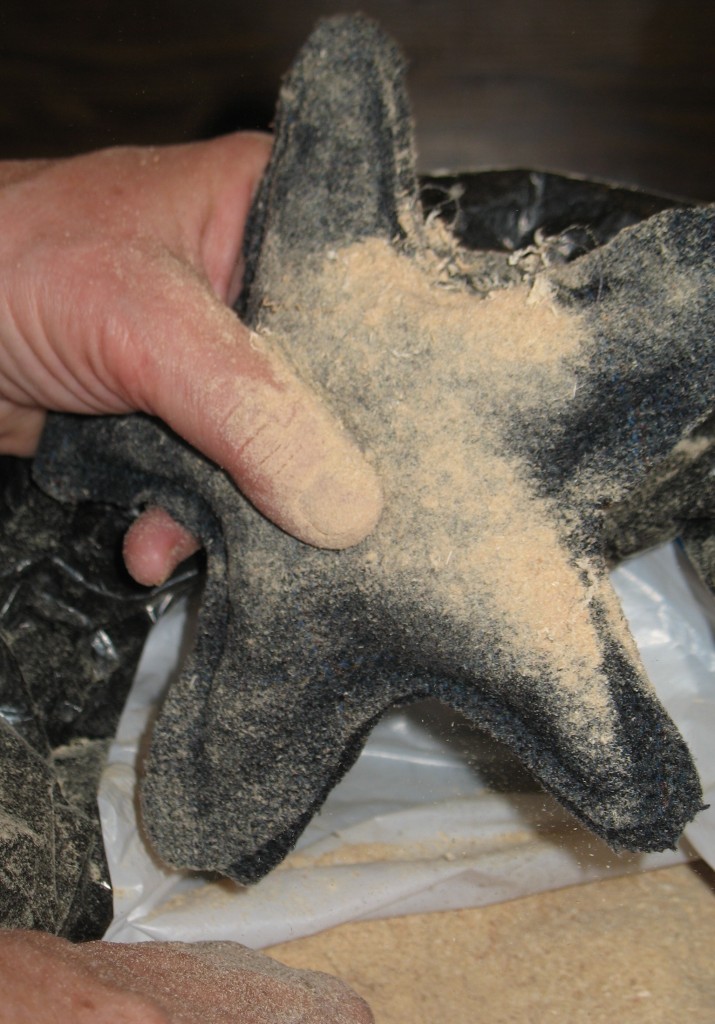
A FULLY-PACKED and fat star will be “sawdusty,” so the next step, before closing the “fill hole” is to . . .
. . . vacuum off the star. This can be done again after the “fill hole” has been stitched shut and the sawdust secured inside the star. (However, the vacuum does not work on removing multiple chins.)
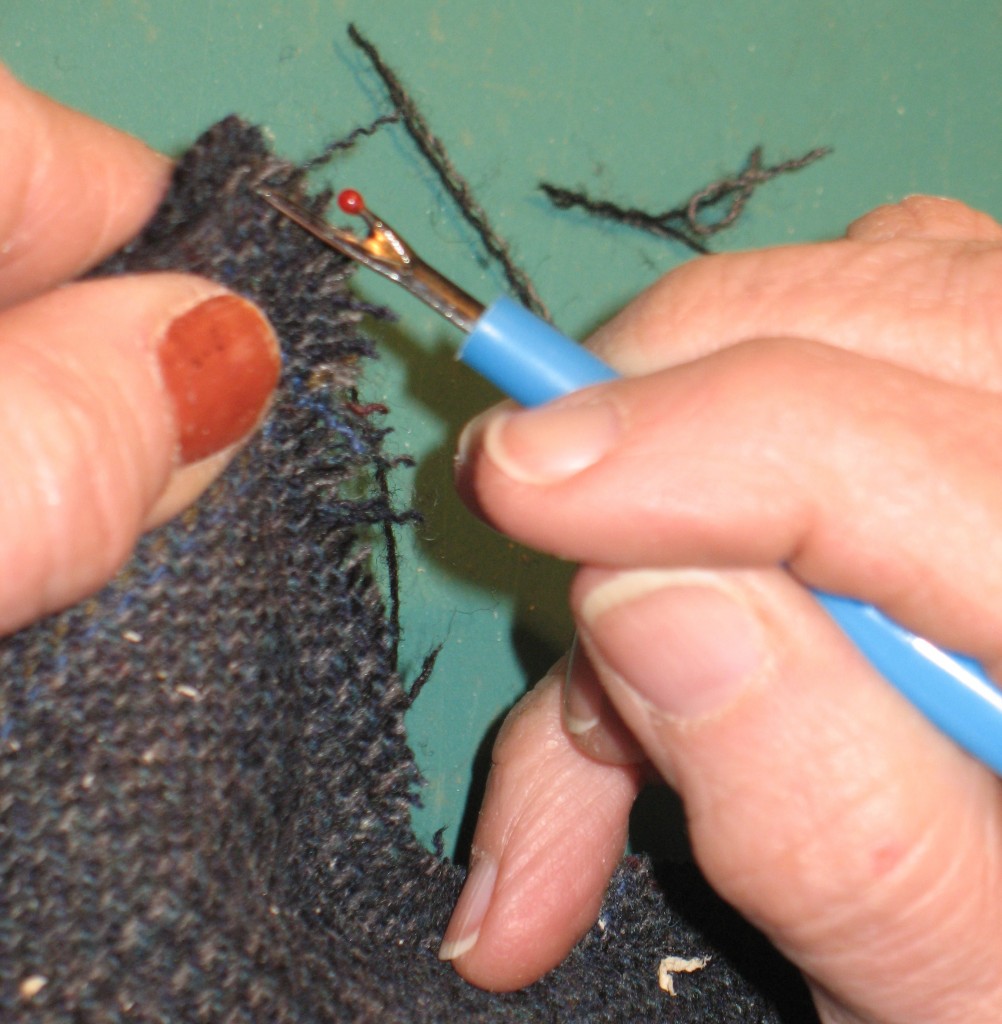
THEN HAND-STITCH the “fill hole” shut, as Carol C.Harder is doing in the above photo.
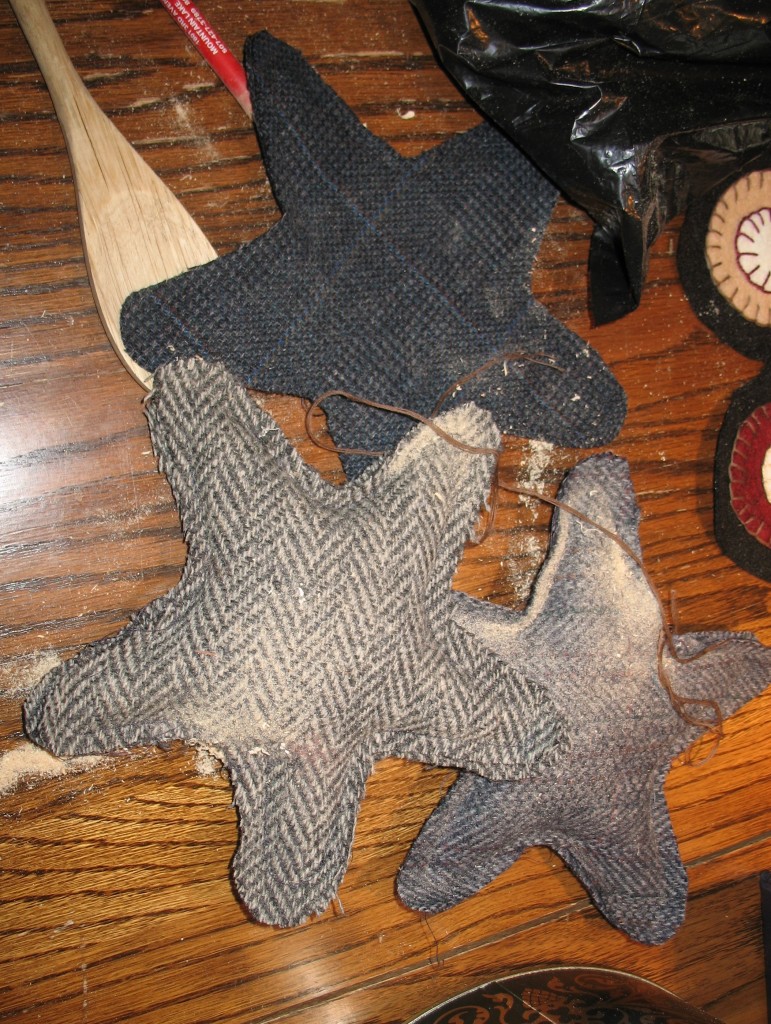
A TRIO OF sawdust-stars awaiting the final two steps leading to completion.
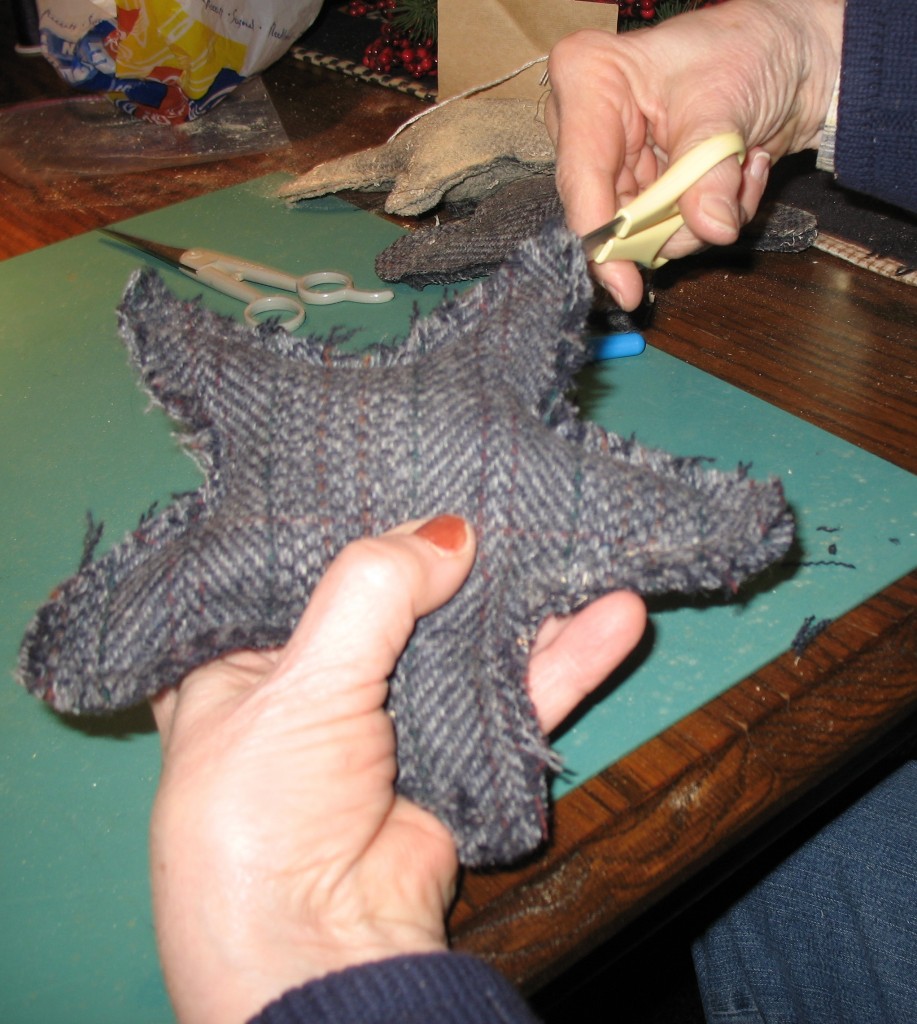
TAKE A SEAM ripper around the edges of the star in order to fray them.
THE FINAL STEP – take a scissors, if you choose, to trim off any “wild hairs” left by the fraying process.
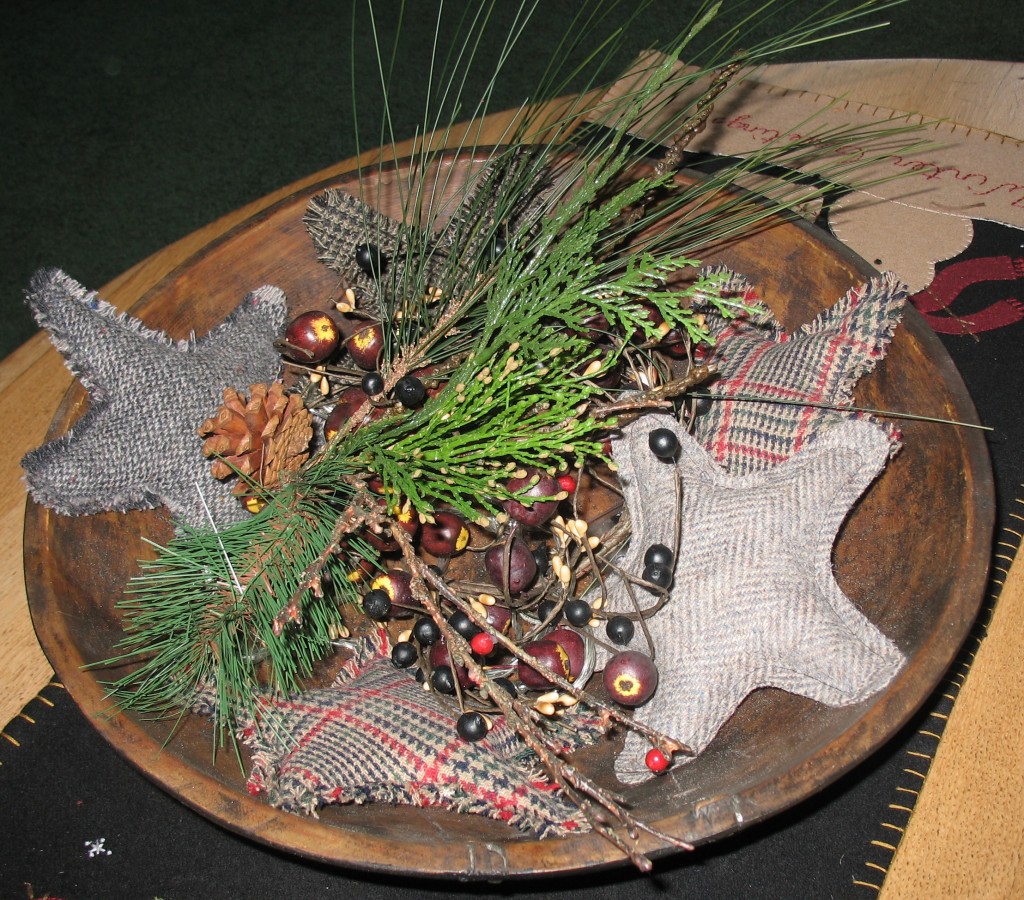
GATHER YOUR COMPLETED stars and create an arrangement, as as photographed above – the stars scattered inside a large wooden bowl and sparked by accents of evergeen, pine cones and berries.